User Guide - Mapping Projects
MappingEDU organizes work around Mapping Projects. This section outlines conceptual and how-to information for working with Mapping Projects.
What is a Mapping Project?
Mapping Projects map one Data Standard (the "Source") to another Data Standard (the "Target"). Once you set up a Mapping Project, you can enter the business logic that maps the elements in the Source standard to the Target standard.
We'll look at MappingEDU Business Logic in the next section, so we'll stay focused on the Mapping Project for now. Mapping Projects have a few attributes worth knowing about.
Mapping Projects Have Status
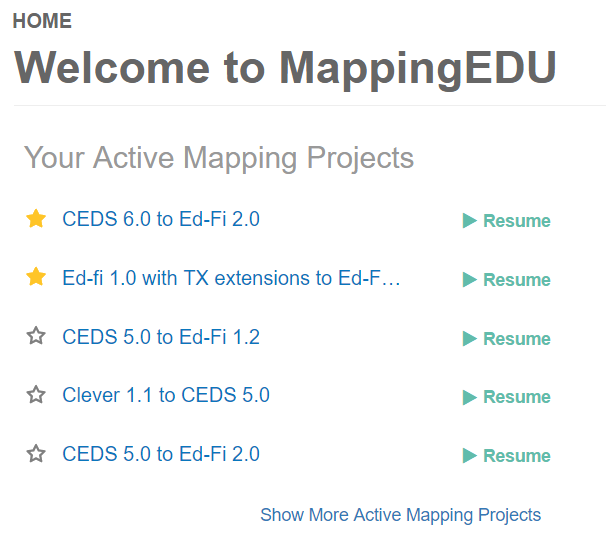
The Mapping Project has an overall status to help you keep your projects organized. For example, "Active" projects appear at the top of the Home Page when you log in:
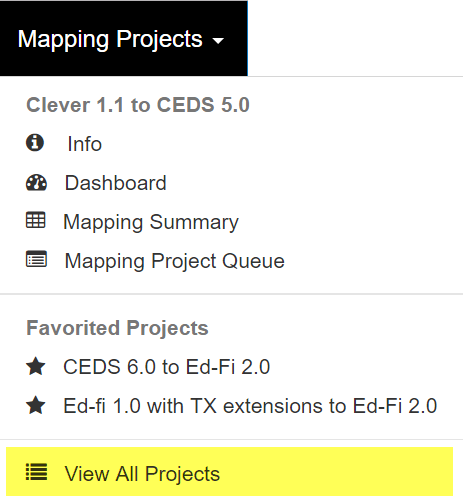
You'll see that Business Logic (i.e., the mapping between elements) has a workflow status as well. When all your Business Logic mappings have been "Approved," the system will suggest that you "Close" your project. Note, however, that you can Close a Mapping Project any time. Your Mapping Projects are, of course, still accessible even after you close them. Select View All Projects from the Mapping Projects menu.
Mapping Projects Can Be Shared
When you set up a new Mapping Project, you are its owner – and only you can see the Project. However, you can give permissions to share the project with any registered MappingEDU user. You can choose to give read-only, read-write, or full owner privileges when sharing your project.
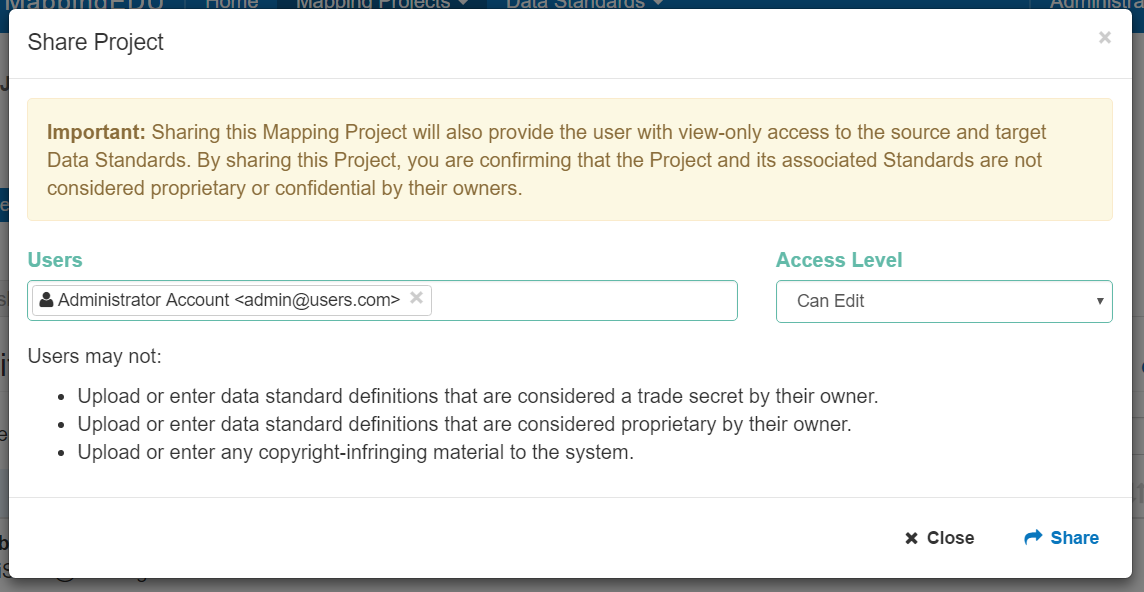
Visit Project Detail > Sharing tab to share your projects. As noted on-screen, sharing your project gives the permissions you assign – and also provides the users you select with view-only access to the Data Standards in the project, if they don't already have permissions.
How do I Create a Mapping Project?
Creating a Mapping Project is easy – but before you start a large project, make sure that your Data Standard is uploaded and is at least basically correct. See the Data Standard section for more information. You can make additions and some edits to your Data Standard even after you start a Mapping Project – but once you start attaching business logic to mappings, the system won't let you delete or rename elements you've already used in your mapping.
The high-level steps to create a Mapping Project are as follows:
Detail is provided below.
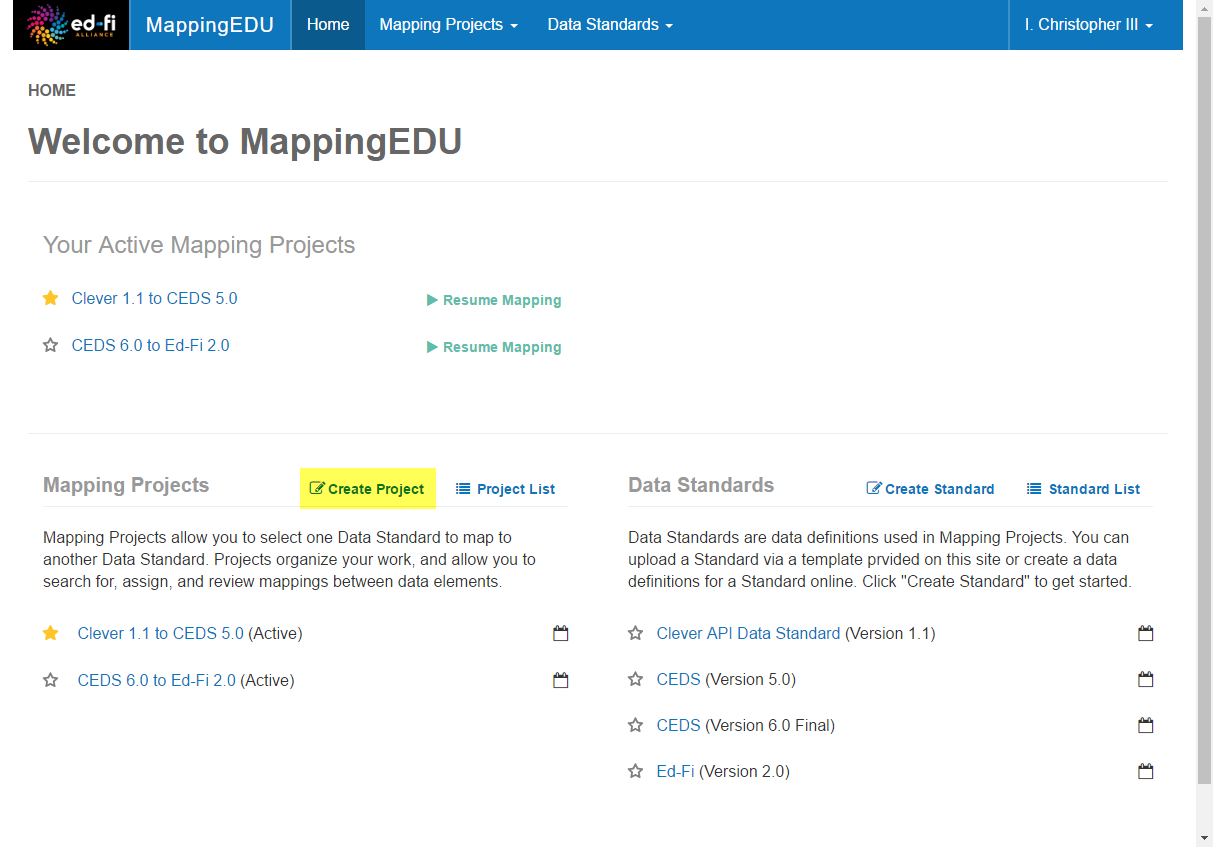
Step 1. Click "Create Project"
The "Create Project" button is available from a few places including the MappingEDU home page.
Step 2. Pick a Source and Target Standard, and Name Your Project
You can name your project anything you'd like, but we suggest slipping the names of the standards in there somewhere. You can also optionally add a description.
The main task here is to select a Source Data Standard and a Target Data Standard.
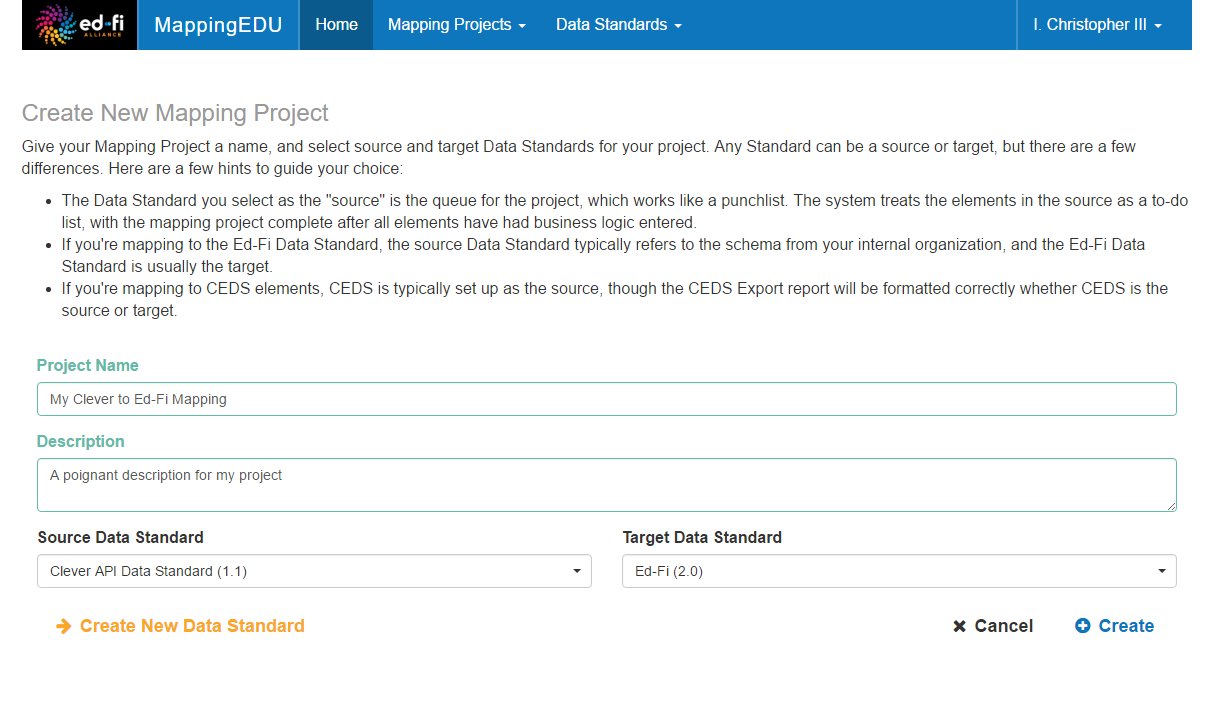
The Source Data Standard will be your working list: the system will prompt you to find a match – or explicitly mark fields for omission or extension – until you're finished.
Step 3. Optionally Try Mapping Helper
The system has a Mapping Helper feature that can suggest some mappings using the data in the standards. The Mapping Helper can provide a helpful starting point, but it is not a substitute to the expertise needed to map most elements.
For more on the Mapping Helper, including how it searches for mappings, please see User Guide - Mapping Helper
This step is optional – but it can't hurt: you can review the mappings before choosing to apply then, and you can always remove or edit the mappings individually if you'd like.
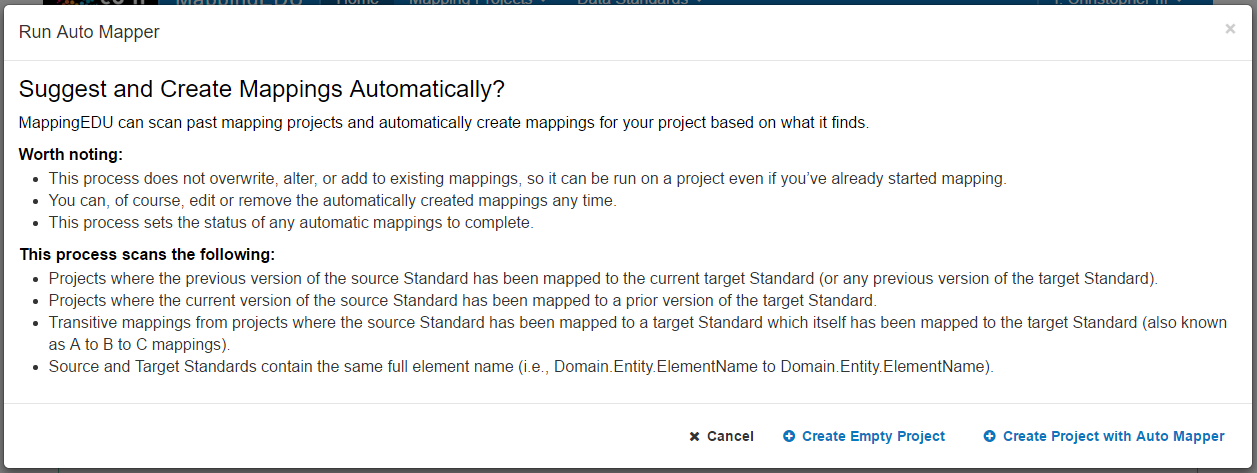
Select the Create Project with Mapping Helper to give it a try. You'll be given the chance to preview mappings – and can choose to accept the suggestions or create an empty project instead.
Step 4. Save Your Project and Get Started
When you've finished the setup steps above, you'll be taken to the Mapping Project Dashboard for your new project.
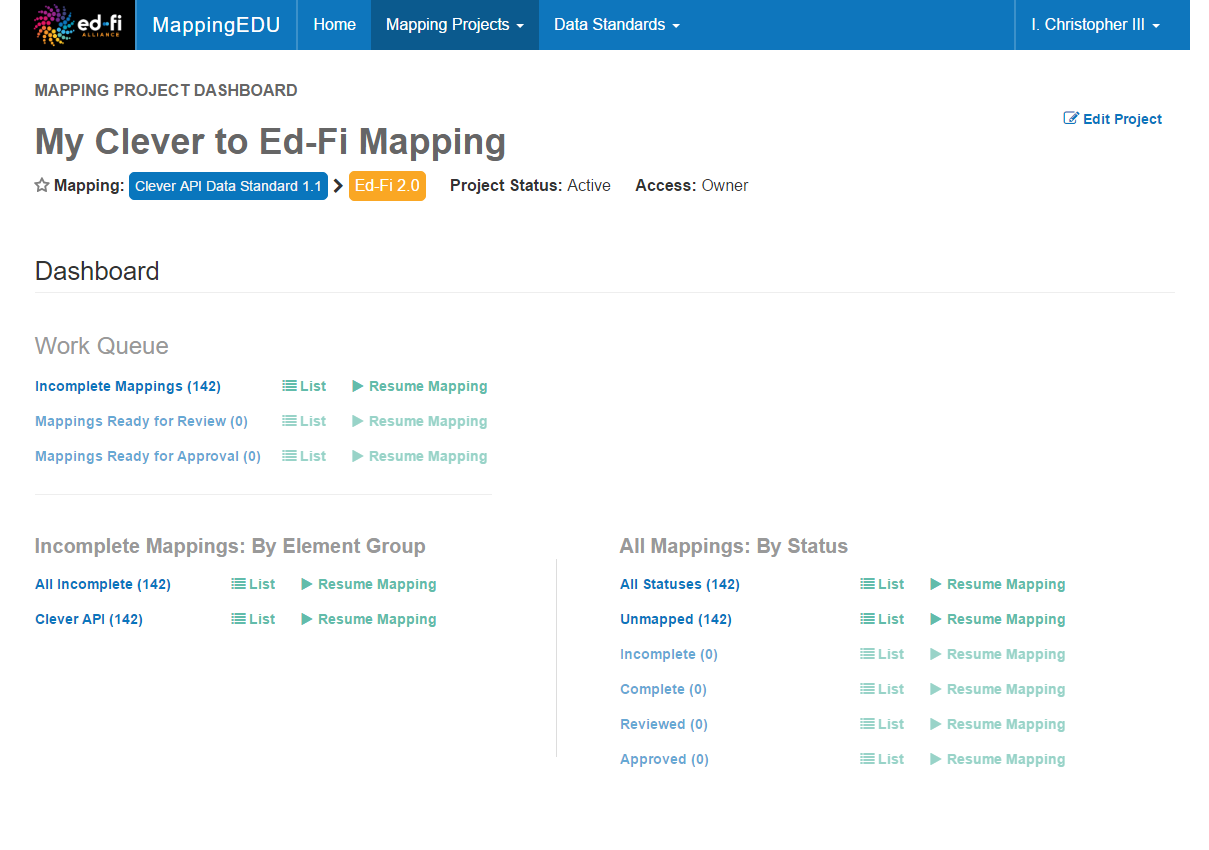
Click around and explore the system to get started. A good place to start is by clicking one of the List buttons.
Tips & Tricks
Here are a few things worth knowing about Mapping Projects:
- Feel free to experiment, especially when you're just starting. There's no penalty for creating a new project – you can always delete or close it later. Many users get started with MappingEDU by creating a test Mapping Project with two existing Data Standards and trying out the mapping features.
- Report anytime. The main output from MappingEDU is the Mapping Review Report (accessible from the Mapping Project > Reports tab). This report contains the mapping logic for the entire project. You can output this report at any time, even on a brand-new project. Many users find this to be an excellent progress report.
- Most mappings between standards are directional. Sometimes, mapping business logic is easy, with a single element in one standard mapping to a single element in another standard. For example, a student first name field in a Source standard may map easily to a student first name field in the Target standard. However, anyone who's done a large mapping project knows that more often than not the logic isn't that simple: fields need to be combined, split, averaged, queried, and so forth. This means that if you're doing a mapping for a bi-directional information exchange, you'll probably want to set up two different projects, with one standard acting as the Source in one project and the Target in the other.
- Get the Data Standard definitions correct before you start a major project. We've noted this above, but it bears repeating: you really should have your Data Standard in good shape before you start a large project. This means that the standard should be organized in a sensible, technically correct way, the definitions should be reviewed, and so forth.
User Guide Contents
Read more about how to use MappingEDU: