This document explains how to take a custom EdFi 6.x build with extensions and implement them on Azure infrastructure in Sandbox mode.
As opposed to Year Specific, District Specific, and Shared Instance mode, Sandbox mode requires that the web application has operating system level access to do database restorations when new sandboxes are created. This is not possible with virtualized SQL databases and virtualized app services. Note that this method is not recommended for production. SIS vendors that are interfacing with the Sandbox environment should refrain from using actual student and staff data, as this implementation method can be more difficult to secure.
Prerequisites
This approach assumes that you already have an EdFi 'build' that has all three databases (EdFI_Security, EdFi_Admin, and EdFi_Ods) and a zipped folder that is your webApi application.
Set up the SQL Server Virtual Machine
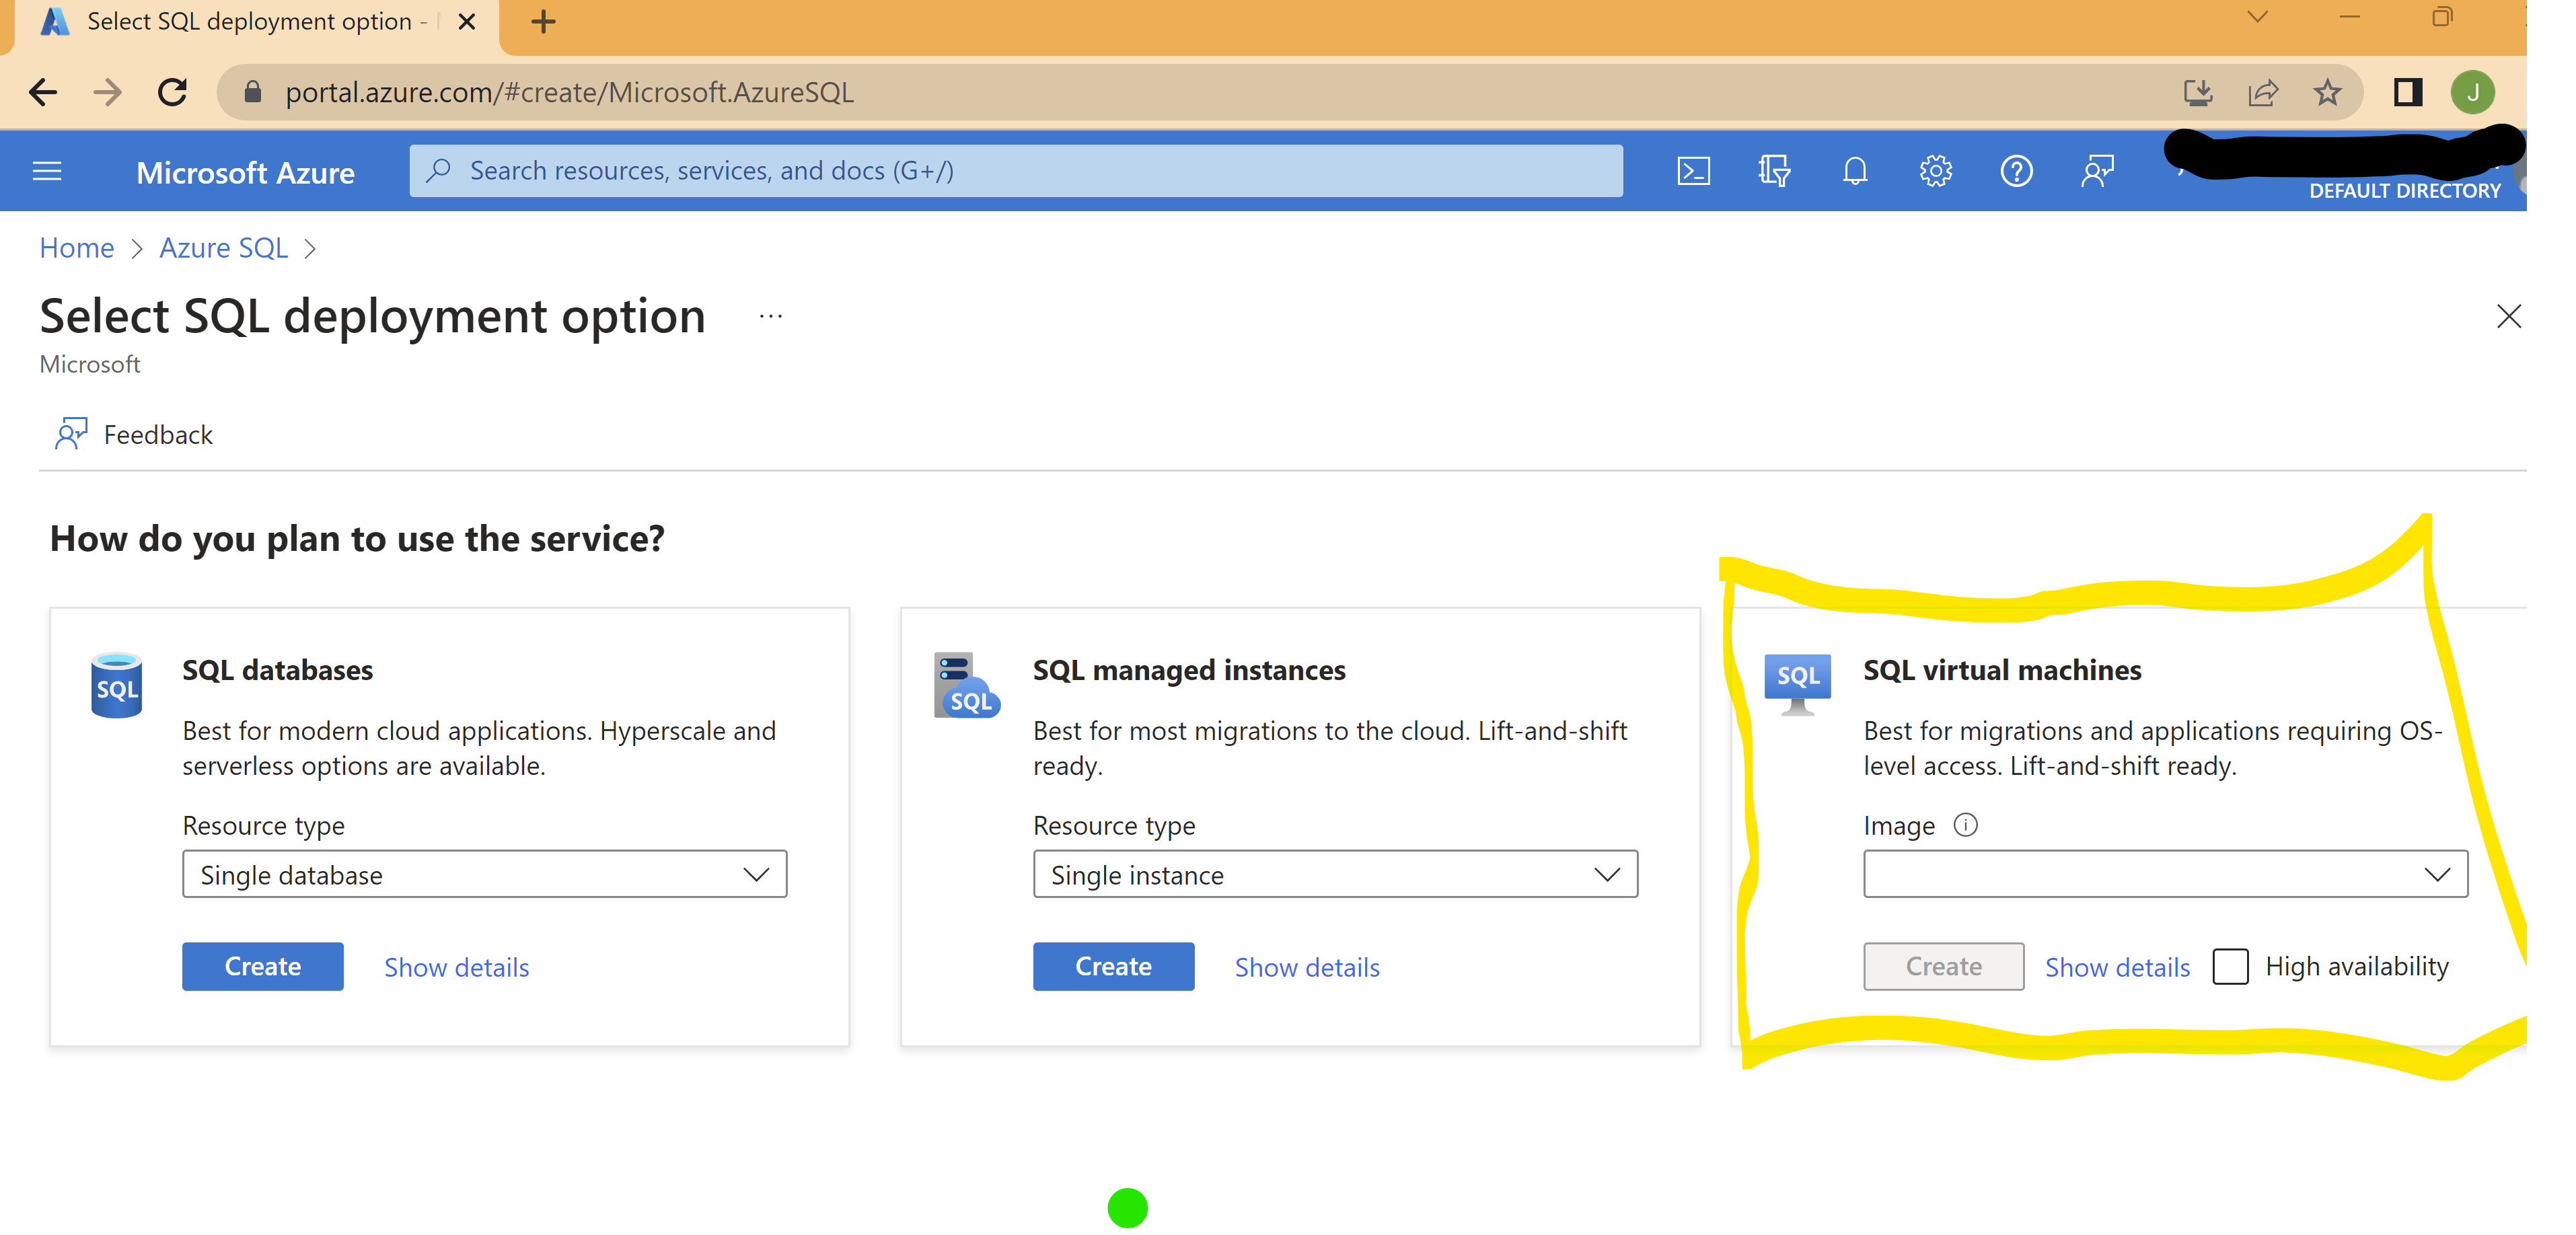
The first step is to create specific type of virtual machine (VM) that has Microsoft SQL Server preinstalled and has the appropriate inbound firewall exceptions.
Click here to expand...
- In the Azure portal, search for the “Azure SQL” resource. Create a new one and choose SQL virtual machine, select the free SQL Developer option. We suggest an initial size of B4ms for the server.
- Under SQL Server settings enable SQL Authentication and choose a username and password or use the integrated AD security. Unlike the virtualized databases, in sandbox mode the Integrated Security method will work fine, the SQL Server Authentication will not be needed for EdFi to work.
- Once it is built, open the resource. Go to networking, add 3 inbound security rules where the Service is HTTP, HTTPS, and MS SQL.
- Go to properties and select the IP address under “Public IP address/DNS name label”
- Create a DNS name. This must be unique in the Azure region. Alternatively use your existing DNS infrastructure to create a record that references this IP address.
Once the VM has been created, we need to configure IIS and add an SSL certificate so that the web applications are externally accessible via HTTPS.
Click here to expand...
- Remote Desktop (RDP) into the server.
- Consider installing Notepad ++
- Go to “Add features” for the server and enable Web Server (IIS).
- Create a new c:\inetpub\Ed-Fi.
- Copy "iisstart.htm" and "iisstart.png" from c:\inetpub\wwwroot to this new folder
- Open IIS, create a new site “Ed-Fi.” Attach it to the new directory you just created.
- Add a binding to the Ed-Fi site for port 80 (HTTP) using the DNS name that was just created.
- Test that the server is externally accessible by putting the DNS name with http:// in a different machine’s browser. You should end up with the IIS landing page and a message about it being insecure.
- Install an SSL certificate that is from a trusted provider. You can get one for free from Lets Encrypt using these instructions: Free SSL Cert via Lets Encrypt
- In IIS, Bind HTTPS to the Ed-Fi site (win acme does this automatically)
- Test it again from an outside computer using https. Now you should get the same landing page without the security error.
- In the Azure portal you can delete the HTTP inbound rule. It is just needed for the “Lets Encrypt” free SSL.
- Open up Windows Defender Firewall (just search for “Firewall”), go to advanced settings, add inbound port rule.
- Add a rule that allows all TCP 1433 through. This will allow SSMS connections to the database which is useful for querying the data that is being submitted. You can potentially limit access to your company’s external facing IP address(s).
Install EdFi
Next we will be installing your EdFI binaries. To make installation easier, we will first install the default EdFi binaries using the installation scripts. This is the fastest way to make sure that all of the IIS modules are installed, the App pools are created, and the associated database logins are created. Once these are installed we can replace the WebApi with the version that has the custom build.
Click here to expand...
- Import the databases from your most recent build that has the extensions. You will need to import the ODS twice, call it EdFi_Ods_Populated_Template and EdFi_Ods_Populated_Template.
- In SSMS, Open the properties -> files for the minimal template and make sure the logical name of the ROWS Data file is “EdFi_Ods_Minimal_Template”
- Open the properties -> files for the populated template and make sure the logical name of the ROWS Data file is “EdFi_Ods_Populated_Template”
- Install donet 6 SDK and hosting bundle from https://dotnet.microsoft.com/en-us/download/dotnet/6.0
- Restart the server.
- Install the WebAPI ( but not databases) per the instructions here: Sandbox Installation Steps - Ed-Fi ODS / API for Suite 3 v6.1 (Latest) - Ed-Fi Tech Docs
- Replace the WebApi folder that is created with the one from your custom deployment. Make sure the connection strings in Appsettings.json are using integrated security = true and the mode is Sandbox and the database is SqlServer.
- Restart IIS.
- Browse the WebApi from IIS. Use the binding that is https and has the DNS name. It should open in your local browser and display the JSON for the Api. You should see reference to your extension project(s).
- Copy that URL. Use it as a parameter to install the Sandbox Admin and Swagger per the instructions above.
- Restart IIS.
- Open the sandbox Admin app from IIS. Look for the user email and password in the sandbox admin appsettings.json to log in.
- Create a test sandbox just to make sure it works.
Set up accounts for each SIS vendor. To set their initial passwords use the instructions here: https://techdocs.ed-fi.org/display/ODSAPIS3V61/Using+the+Sandbox+Administration+Portal