Preprocessing CSV Files
Update
"Preprocessing CSV Files" (this article) is targeted to Data Import 1.0. If using Data Import 1.0.1, please also see the two additional PowerShell integration articles below which offer direct integration within Data Import.
Data Import is a ETL tool that eases the burden of mapping and loading CSV data to Ed-Fi ODS / API endpoints. It provides basic ETL transform functions such as value translation (e.g. "1" to "First grade"), however does not provide advanced abilities such string manipulation or formatting as a general purpose language would. The source CSV data you are working with may require these functions and other preprocessing steps before an automated tool like Data Import could be expected to load into an Ed-Fi ODS / API. For example, a source CSV file may incompatible or incomplete date format, or may need to calculate a new column based on a few of the original columns. The right tool for such a job is a general purpose programming language, before the CSV file is given to Data Import, and PowerShell is one that can work well to accommodate these needs.
This page provides a working example of a custom CSV file preprocessor using PowerShell for three common transformation functions:
- Trim whitespace - source data may contain unnecessary spaces within a source file (i.e. " 12356 ")
- String concatenation - the import may require a new field from two or more existing fields for unique identifier creation or similar needs
- Date formatting - the import requires a full YYYY-MM-dd based on a limited date
Attached to this page is a runnable demo which uses Powershell to convert a sample input CSV into a modified output CSV.
1. Download and Unzip the Example
Download the sample displayed in the yellow box on the right. Once downloaded, right-click the zip and select "Properties", then "Unblock" the file and select "OK". Lastly, extract the zip file.
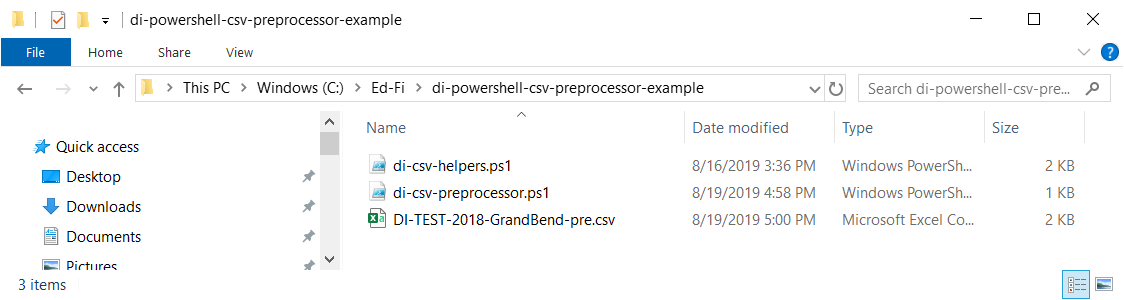
2. Inspect the Files
After unzipping, you'll find 3 files:
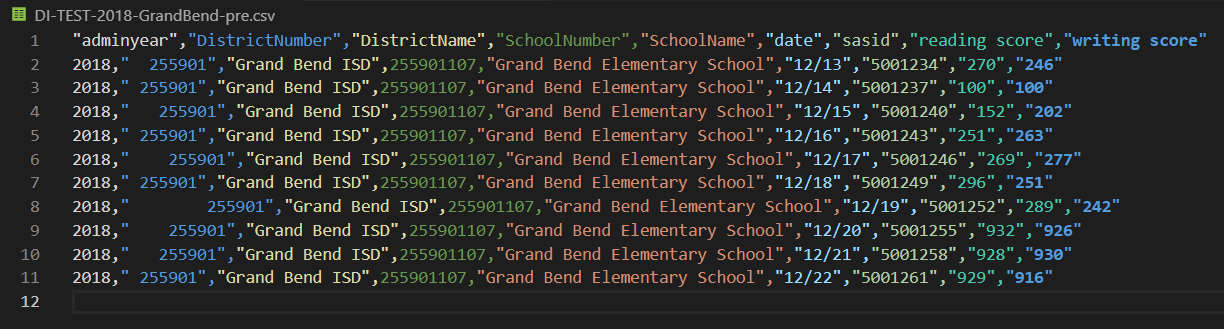
"DI-TEST-2018-GrandBend-pre.csv" is an example CSV file from the Quickstart with a few additional data issues. Open this file in notepad.exe to witness the raw content (right click \ edit):
- The "DistrictNumber" column has inconsistent whitespace we'd like to clean up.
- The "date" column is formatted in month/day format, but for our example we wish it were instead year-month-date format with 2018 set as the administration year.
- We're missing a desired column. We'd like a new calculated column, "Combined", which is the result of appending "adminyear", "DistrictNumber", "SchoolNumber", and "sasid" with a ":" character separating each part.
"di-csv-preprocessor.ps1" is a Powershell script which performs the above 3 fixes, saving the result to a new CSV file.
"di-csv-helpers.ps1" includes Powershell instructions that could be used in any custom CSV preprocessor. It is used by "di-csv-preprocessor.ps1".
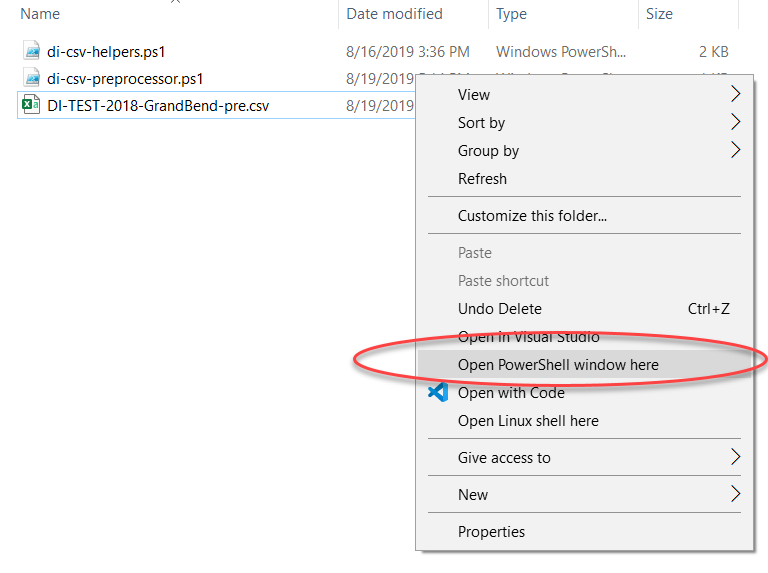
3. Open a Powershell Prompt
Holding the shift key, right click within the extracted zip folder and select "Open PowerShell window here":
4. Run the Example
In the powershell window, enter the following command and hit enter:
.\di-csv-preprocessor.ps1 DI-TEST-2018-GrandBend-pre.csv DI-TEST-2018-GrandBend-post.csv
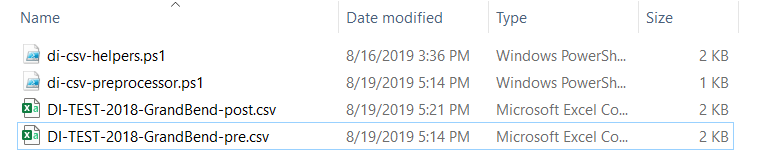
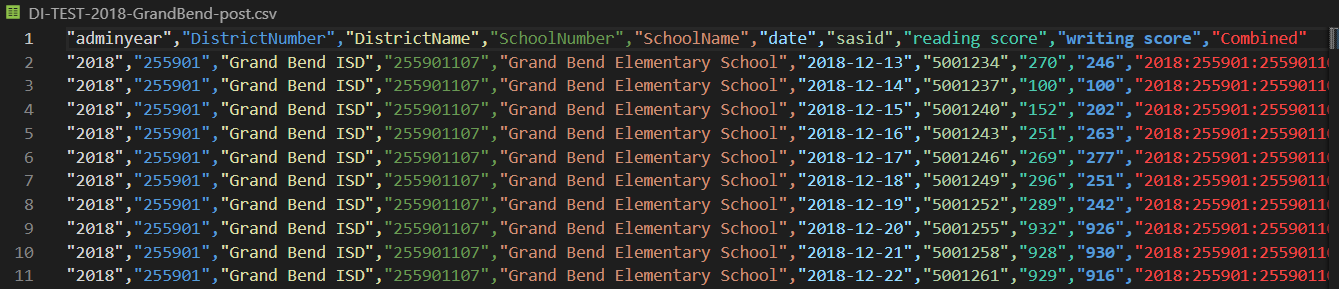
A new file will appear, "DI-TEST-2018-GrandBend-post.csv":

5. Inspect the Results
"DI-TEST-2018-GrandBend-post.csv" contains all of the data from the original, except:
- Excess whitespace has been trimmed from DistrictNumber.
- The format of the date column has been updated.
- The new column "Combined" has appeared, whose content is based on combining several other columns in each row.
DI-TEST-2018-GrandBend-pre.csv:
DI-TEST-2018-GrandBend-post.csv:
6. Customize
This is just a representative example. Naturally, you will need to modify "di-csv-preprocessor.ps1" to fit your use case.
The following ZIP file is the source for this example: